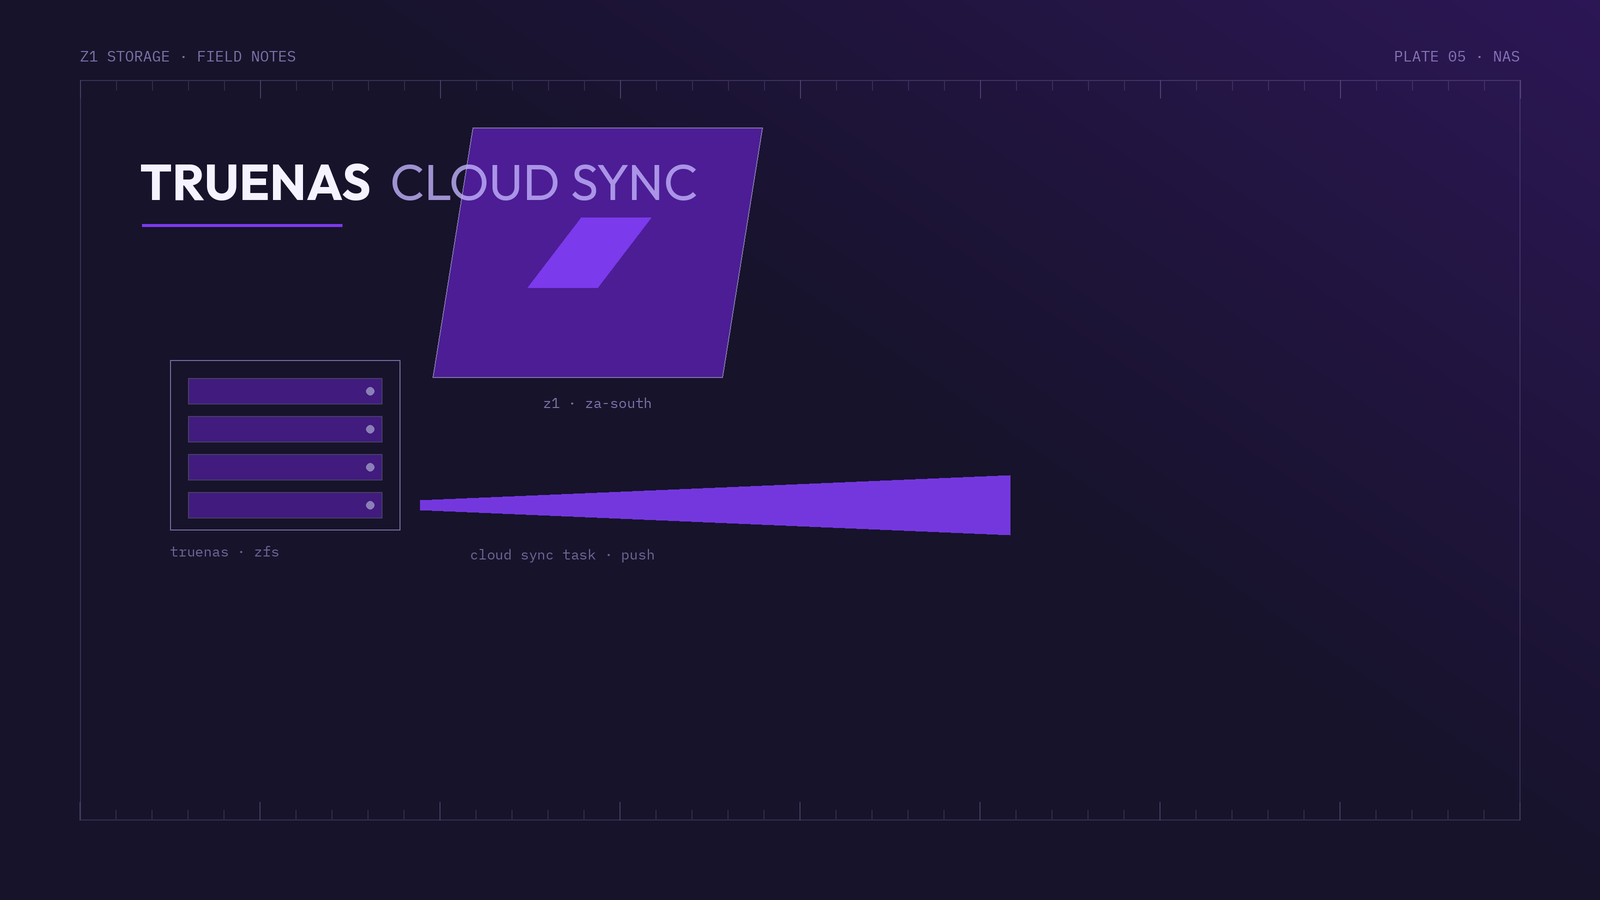
TrueNAS ships with built-in cloud sync, so your ZFS-protected data can also have an off-site, S3-hosted copy — no plugins required. This guide connects TrueNAS to Z1 Storage and sets up a scheduled push of your datasets, completing the off-site leg of the 3-2-1 backup strategy.
Z1 Storage settings at a glance: Endpoint: https://s3.z1storage.com | Provider: Amazon S3 (S3-compatible) | Access keys: from your client area
Prerequisites
- A TrueNAS SCALE or TrueNAS CORE system
- A Z1 Storage account with a bucket created for your NAS, plus your access key and secret key
Step 1: Add Z1 Storage credentials
- In the TrueNAS web UI, go to Credentials → Backup Credentials → Cloud Credentials (SCALE) or System → Cloud Credentials (CORE) and click Add.
- Configure:
- Name:
Z1 Storage - Provider: Amazon S3
- Access Key ID / Secret Access Key: your Z1 Storage keys
- Name:
- Open the Advanced Settings and set:
- Endpoint URL:
https://s3.z1storage.com - Region: leave empty
- Endpoint URL:
- Click Verify Credential — you should see a success message — then save.
Step 2: Create the cloud sync task
- Go to Data Protection → Cloud Sync Tasks and click Add.
- Choose the Z1 Storage credential; your buckets are listed automatically.
- Configure the task:
- Direction:
PUSH - Transfer Mode:
SYNCkeeps the bucket an exact mirror of the dataset (deletions propagate);COPYonly adds and updates files, never deletes — safer if you want the bucket to accumulate history. - Source: the dataset or directory to protect
- Target: your bucket and a folder for this system, e.g.
truenas-office
- Direction:
- Under advanced options you can enable remote encryption (rclone-style client-side encryption — store the password safely; it cannot be recovered), set bandwidth limits, and adjust transfers for parallel uploads on fast lines.
- Set the schedule — nightly is a sensible default.
- Save, then use Dry Run to preview exactly what the task will transfer before the first real run.
Step 3: Run and verify
Run the task manually once and watch the transfer log. Afterwards, verify the objects arrived — via the Z1 web interface, Cyberduck or the AWS CLI — and do a small test restore by pulling a file back.
Notes
- ZFS snapshots protect you from local mistakes; the cloud sync protects you from local disasters. Use both.
- If you choose
SYNCmode, consider enabling bucket versioning (managed in your client portal) so files deleted from the NAS remain recoverable from earlier versions in the bucket. - Data stays in South Africa: POPIA-friendly, low-latency, with uploads free and flat R0.30/GB/month pricing. Sign up — first 10GB free.